
Baking Soda Clay Ornaments
 I've seen recipes for baking soda clay all over pinterest and thought it looked like a pretty easy way to make some new white ornaments for the tree. I also had an idea of making some mini clay Christmas bunting. The dough sounded ideal (I used this recipe but made a half size batch) - three ingredients, easy to make, the clay stayed white, you could stamp it with patterns and you could air dry or oven dry it. Well, this is the story of a pinterest fail! The dough worked, was lovely to roll out, and easy to stamp. But, it cracked really badly when it dried (I chose to air dry rather than oven dry so they would dry slowly). They cracked so much that those 6 ornaments in the picture above were all that were salvageable from the entire batch of about 25! I don't know what went wrong. It didn't seem to be because of the thickness of the rolled out clay. I had both thick and thin ornaments crack. Some ornaments cracked where I had pushed a hole in the for stringing up. Some cracked where I had stamped them. Others cracked in random places.
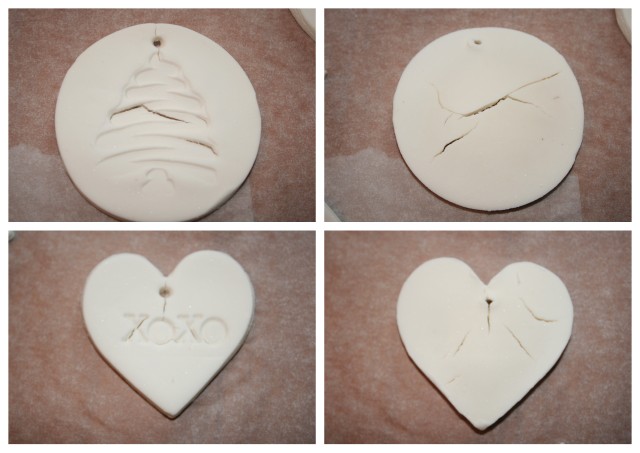
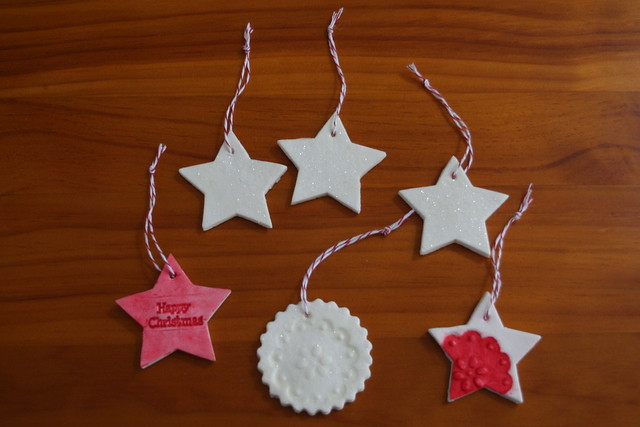
The ornaments that I did manage to salvage do look lovely. They did stay white as the instructions promised, but took about 3 days to fully dry. I painted a couple of them and then sealed them with PVA (white glue). The rest I covered with PVA and sprinkled with fine white glitter. These ones are my favourites. The white glittery stars look lovely on the tree when the fairy lights are on!
Air Dry Clay Ornaments
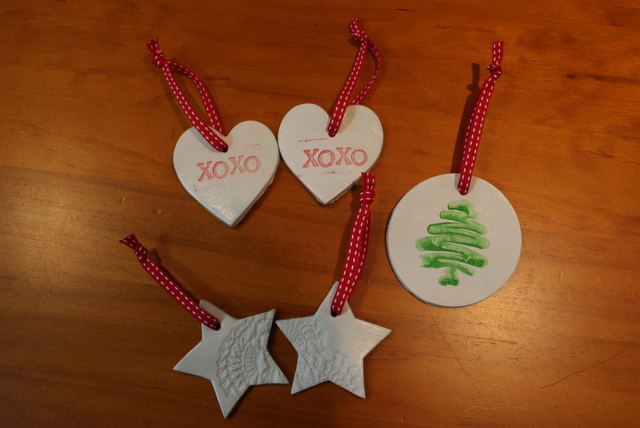
I was still determined to make my clay bunting, so after some research online, I bought some Jovi Air Dry Clay from Warehouse Stationery. At only $7 for 500g, I figured if this didn't work either, I wasn't going to be much out of pocket. But it did work. Wonderfully well in fact! Here is my tray of ornaments ready to dry.
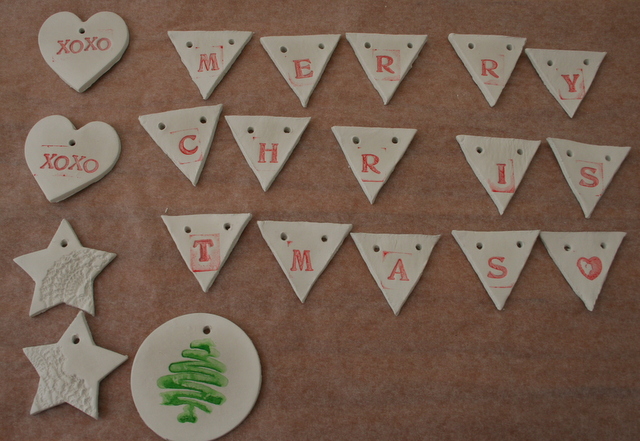
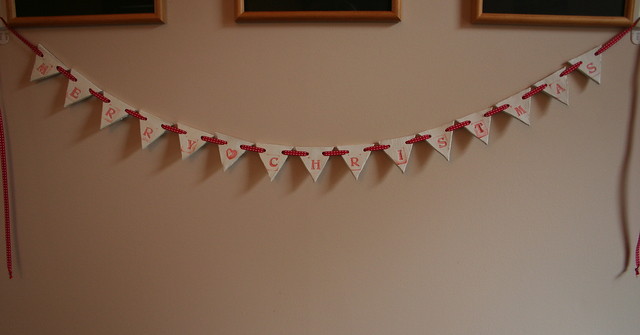
I made a paper template for the bunting flags and cut them out with a sharp knife. The other shapes I cut with cookie cutters. I used rubber stamps and ordinary crafting ink to decorate them. Two of the stars are imprinted with a doily that I rolled onto the clay before cutting them out. They took just over 24 hours to dry fully and then I sprayed them with spray varnish before stringing them on ribbon. I only used about half a packet of dough, so I have plenty left for other projects. The clay was not as white as the baking soda clay, but it seemed to whiten as it dried. A much better result - I love my cute new bunting! I think I might have to make some for birthdays and other occasions so I can have bunting hanging up year round!
No comments:
Post a Comment